Now that an Entity as been created you can add contacts to it.
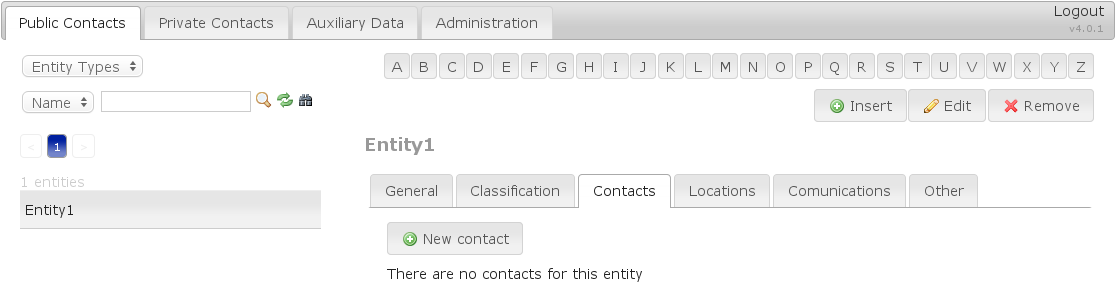
At the Public Contacts tab, select the entity and click on the Contacts tab.
Figure 16.19:
Public Contacts - Contacts tab
|
|
Click on New Contact.
Figure 16.20:
New Contact button
|
|
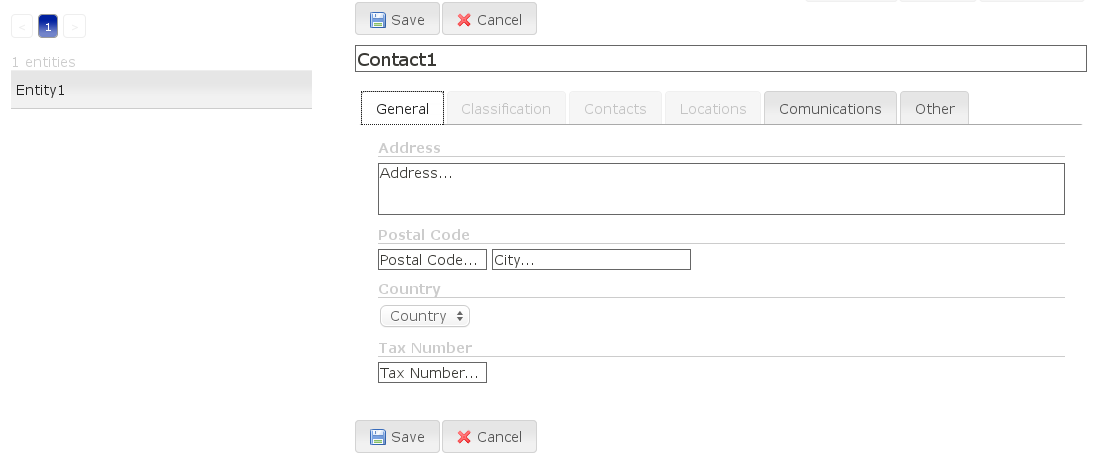
Fill the presented fields with the repective information (Address, Postal Code, Country, Tax Number).
Figure 16.21:
Contact General tab
|
|
To further enhance the contact's attributes, there's also two other tabs.
- Communications:
- Email.
- Phone: If you want to add several numbers please separate them by /
- Mobile Phone: If you want to add several numbers please separate them by /
- Fax: If you want to add several numbers please separate them by /
- MSN Contact.
- IPBrick phone: Choose the contact's IPBrick phone registered in the IPBrick server.
- Other:
- Location: Select from the previously created attributes
- Comments: Add any Comments you'd like.
- BIN: Type in the Bank Identification Number of the Entity.
- Web: The contact's personal webpage.
- Company Domain
- Mailing list: YES or NO
- Birthday: Please click on the calendar's icon to select the contact's birthday.
- State: To choose a State you'll have to create an entry in Auxiliary Data.
- Province: To choose a Province you'll have to create an entry in Auxiliary Data.
- Region: To choose a Region you'll have to create an entry in Auxiliary Data.
- Presentation: fill in with what you need to show so that it can be considered.
- Post: His position in the Entity's hierarchy.
- Extra Field: Adds an extra field.
Click on Save.
After creating a contact you can verify if all the data inserted is accurate. If not, click on Edit or Remove if you wish to
erase the entry.
IPBRICK