As stated previously, in order to create an Entity you must first create at least one Entity Type entry in the Auxiliary Data page.
NOTE: This procedure is mandatory.
Click on Insert.
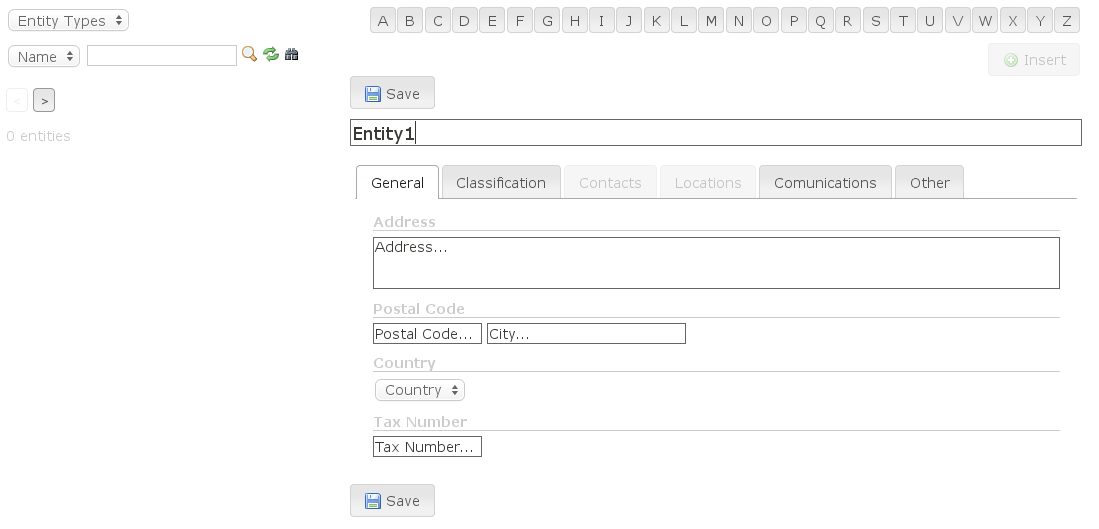
At the General Tab, fill the available fields (Name, Address, Postal Code, Country and Tax number)
NOTE: Some of these attributes are created in the Auxiliary Data tab and are not mandatory.
Figure 16.17:
Public Contacts Tab - Entity Creation - General tab
|
|
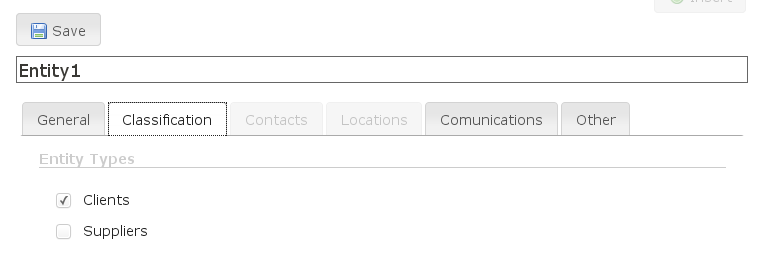
At the Classification tab select the type of Entity you are creating (this is where the Entuties Types created in Auxiliary Data come into play)
Figure 16.18:
Public Contacts Tab - Entity Creation - Classification Tab
|
|
To further enhance the entity's attributes, there's also two other tabs.
- Communications:
- Email.
- Phone: If you want to add several numbers please separate them by /
- Mobile Phone: If you want to add several numbers please separate them by /
- Fax: If you want to add several numbers please separate them by /
- MSN Contact.
- IPBrick phone: Choose the Entity's IPBrick phone registered in the IPBrick server.
- Other:
- Location: Select from the previously created attributes
- Comments: Add any Comments you'd like.
- BIN: Type in the Bank Identification Number of the Entity.
- Web: The Entity's webpage.
- Company Domain
- Mailing list: YES or NO
- Birthday: Please click on the calendar's icon to select the entity/contact's birthday.
- State: To choose a State you'll have to create an entry in Auxiliary Data.
- Province: To choose a Province you'll have to create an entry in Auxiliary Data.
- Region: To choose a Region you'll have to create an entry in Auxiliary Data.
- Presentation: fill in with what you need to show so that it can be considered.
- Post: His position in the Entity's hierarchy.
- Extra Field: Adds an extra field.
Click on Save
After creating an Entity you can check if all the data inserted is correctly and, if not, just click on Modify or Delete if you wish to
erase the entry.
IPBRICK