Now that an Entity as been created you can add contacts to it.
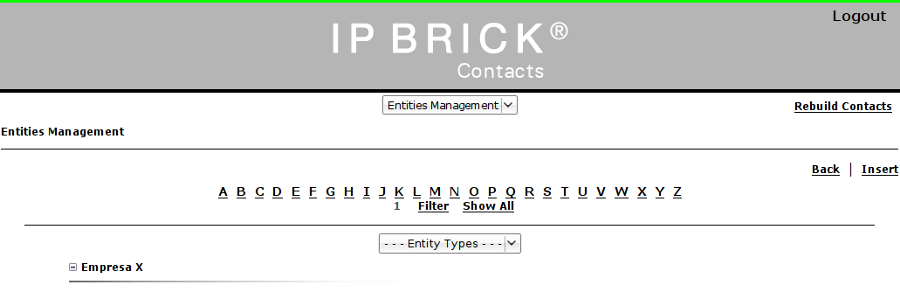
If you return to the Entities Management page (Figure 16.9),
the name of the Entity you have just created is now visible.
Figure 16.9:
Entities Management page with a created Entity
|
|
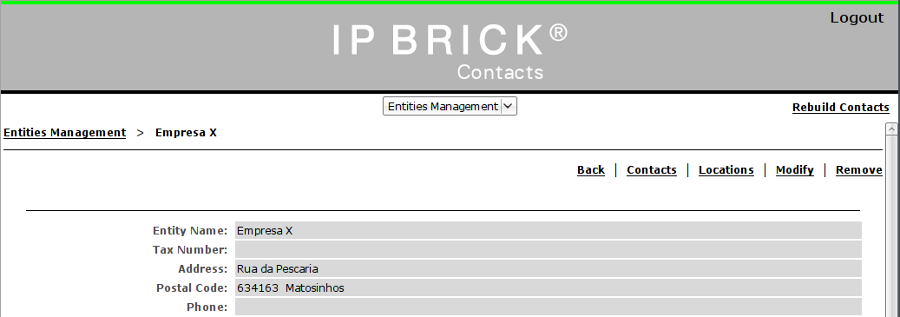
If you click on the name of the Entity, a new page will appear (Figure 16.10).
Figure 16.10:
Entity details page
|
|
- Click on the Contacts Link.
- Click on Insert Contact.
Please fill in these fields:
- Entity Name: (obviously non-editable).
- Location: Choose the contact's location, from the list of available options.
- Contact: The contact's name.
- Tax Number.
- Address.
- Postal Code.
- Phone: If you want to add several numbers please separate them by /
- Mobile Phone: If you want to add several numbers please separate them by /
- Fax: If you want to add several numbers please separate them by /
- Email.
- MSN Contact.
- Web: The contact's personal webpage.
- BIN: Type in the Bank Identification Number of the Entity.
- Birthday: Please insert the contact's birthday (day/month/year).
- Presentation: fill in with what you need to show so that it can be considered.
- Post: His position in the Entity's hierarchy.
- Country: To choose a country you'll have to create an entry in Auxiliary Data.
- State: To choose a State you'll have to create an entry in Auxiliary Data.
- Province: To choose a Province you'll have to create an entry in Auxiliary Data.
- Region: To choose a Region you'll have to create an entry in Auxiliary Data.
- Group: To choose an Associated Group you'll have to create an entry in Auxiliary Data.
- IPBrick phone: Choose the contact's IPBrick phone registered in the IPBrick server.
- Comments: Add any Comments you'd like.
- Extra Field: Adds an extra field.
To save, click on Insert.
After creating a contact you can verify if all the data inserted is accurate. If not, click on Modify or Delete if you wish to
erase the entry.
Return to the Entities management page by clicking on the Entities Management link situated on the left corner.
- Click on the desired Entity.
If you wish you can Modify, Remove or add Contacts to the Entity by simply clicking on the corresponding link located
in the top right corner of the screen.
iPortalMais