Next: Boot and Operating System Up: Terminal Server Previous: Terminal Server Contents
First, you have to activate Terminal Server in IPBrick's web interface. To proceed with this operation go to IPBrick.I - Terminal Server. To activate, click Modify and choose Yes;
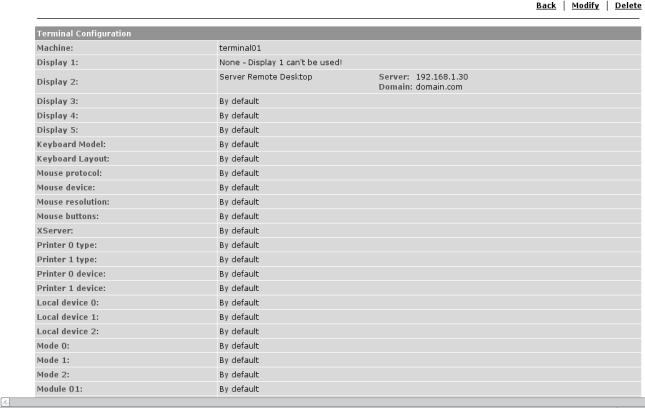
After the activation, you may configure terminal server in this fields:
Display [2 to 5]:
Server Remote Desktop: The connection is made by the terminals to IPBrick. IPBrick is responsible for the connection with the Windows Server:
Server: Address to connect by remote desktop;
Domain: Indicate the Windows domain that is going to connect (ex: iportal2003).
Terminal Remote Desktop: The connection to the server is directly made by the terminal:
Server: IP Address of the server to connect by remote desktop;
Domain: Indicate the Windows domain that is going to connect (ex: iportal2003).
Mozilla-Firefox: Open a Firefox browser session;
Telnet Session:
Server: IP Address of the telnet server. It is possible to connect to other service by indicating a specific gate. Syntax: ip_address:port;
Linux Remote Desktop: Remote connection to a Linux machine;
Others: It presents a command line
Keyboard model: It depends on the number of keys. These are the available options:
Keyboard layout:
Mouse protocol: Type of protocol used by the mouse in the client station;
Mouse device: System Device that will be used (/dev/...);
Mouse resolution: The Resolution mode used by the mouse;
Mouse buttons: Number of mouse buttons;
X Server: Specific commands to run the graphic environment. auto is the default mode;
Printer [0...1] type: Sets the printer type you want to use;
Printer [0...1] device: Specific device for the printer (/dev/...);
Local Device [0...2]: Other devices you want to use (/dev/...);
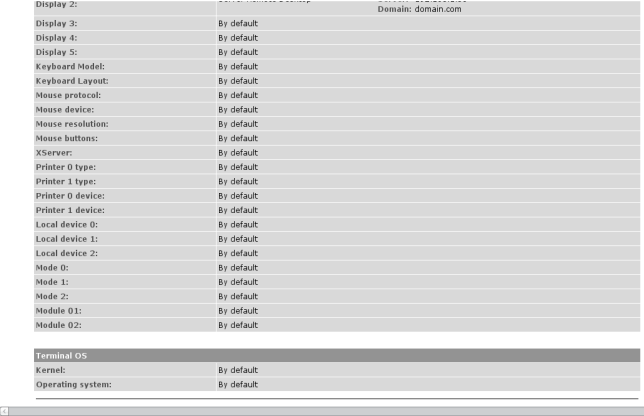
Mode [0...2]: Possible image resolutions..
Module 01...02: Makes possible the loading of two Kernel modules.
You can see a first configuration example in Figure 3.65 and Figure 3.66